- Metal
- Wood
- Plastics
- Rubber
- More
Metal
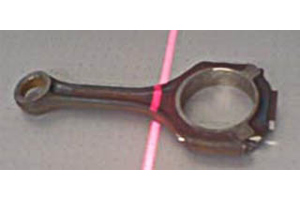
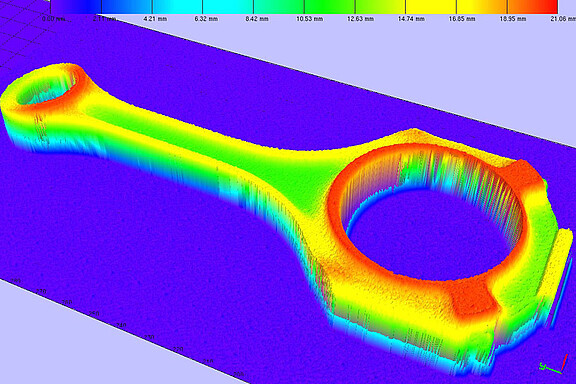
Linear 3D capturing of parts
- Modular system by the company Mabotic
- Quick and easy digitalization
- No deformation of single profiles by means of the global shutter from the scanCONTROL profile scanner
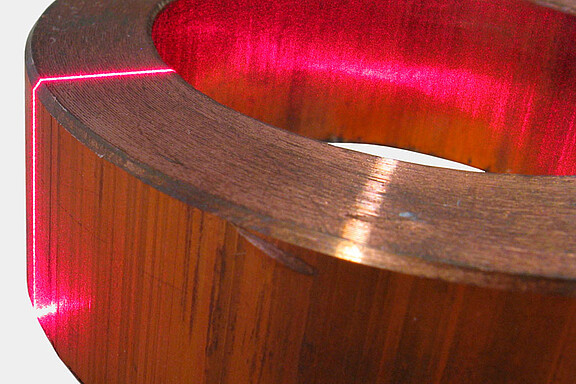
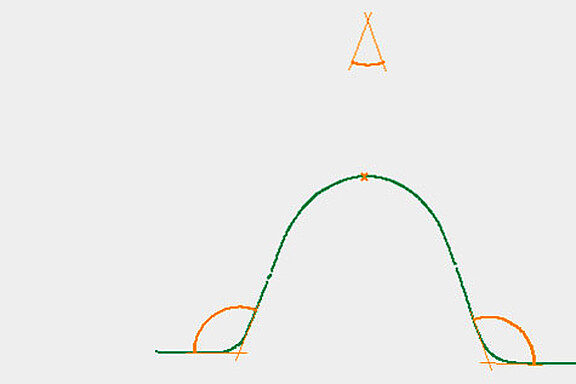
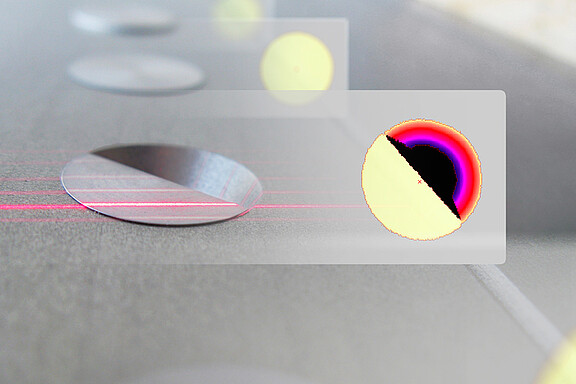
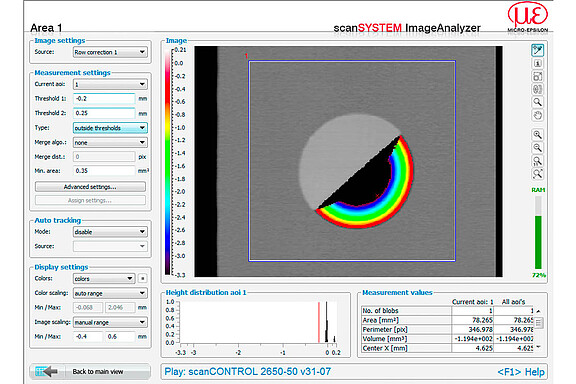
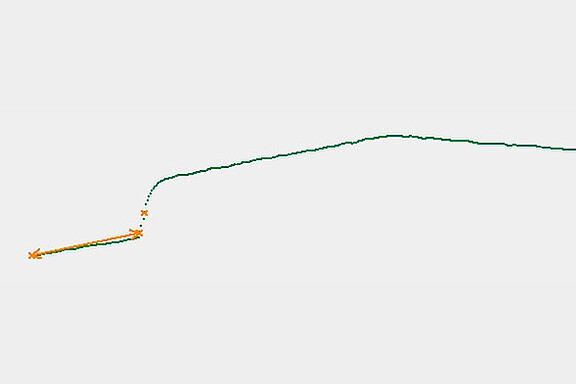
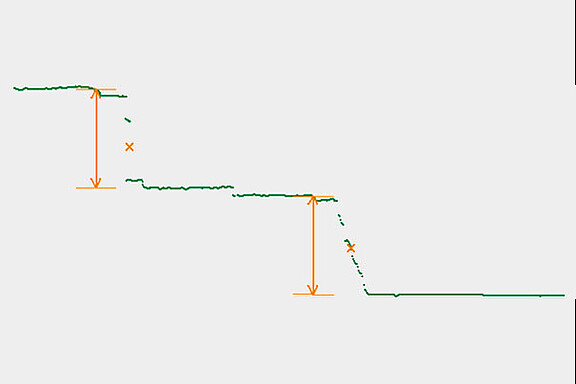
Chamfers on copper rings
- Material is corroded and has changes in the degree of gloss
- Complete measurement takes less than 1 second
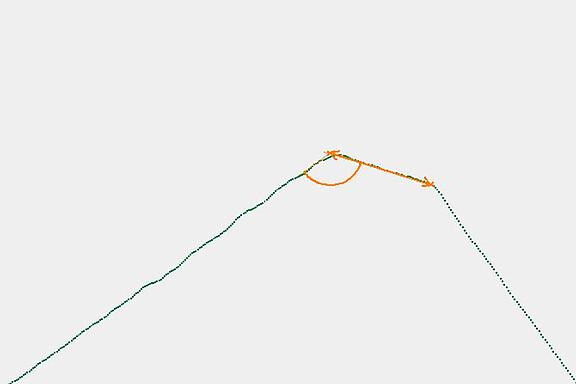
- Width of the chamfer is at 0.8 mm
- Additionaly the angle of the chamfer is being checked
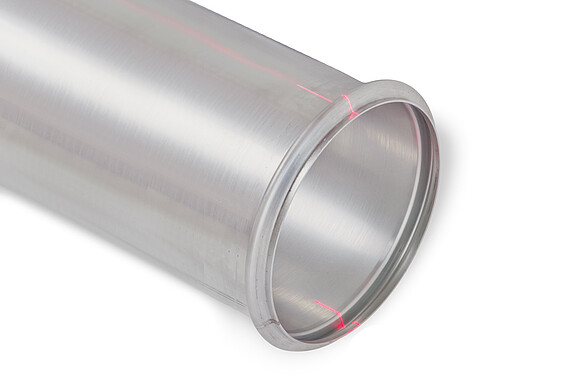
Outline measurement on pipe ends
- Using a scanner for each end
- Shiny surface
- Partially steep edges
Measurement of concentricity on joints
- Connection of two parts with a metal slide bearing
- Circular control (180°) and step measurements
- Derivated from that determination of the concentricity of the three elements
Velvet control
- Position of the velvet
- Height of the velvet
- Defects/Tipping of the velvet
- 250 velvets/min
Pin control
- Position of pins
- height of pins
- Number of pins and defects
- 187 pins / min
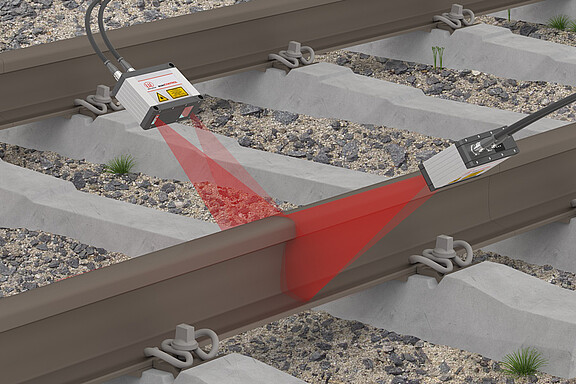
Railway tracks
- 2 scanners per rail
- 50mW laser for highspeed measurement on rails (partially shiny or dark surfaces)
- Ambient temperature from -20 to +80 °C (Cooling and heating by a customer system)
- Detection of defects on the rails during the overrun
- Evaluation software by customer
Tracking of a welding seam on pipelines
- Measuring the position of the welding seam
- Detection of interruptions in the welding seam
- Measuring speed 30m/min
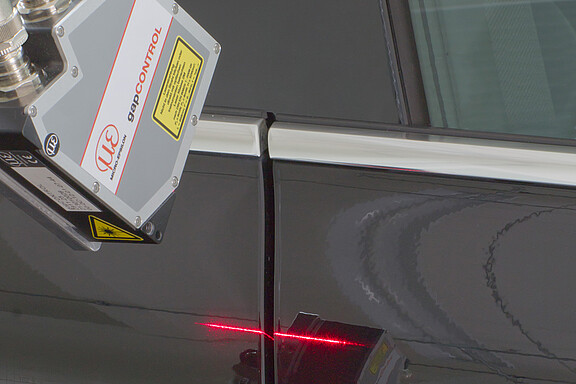
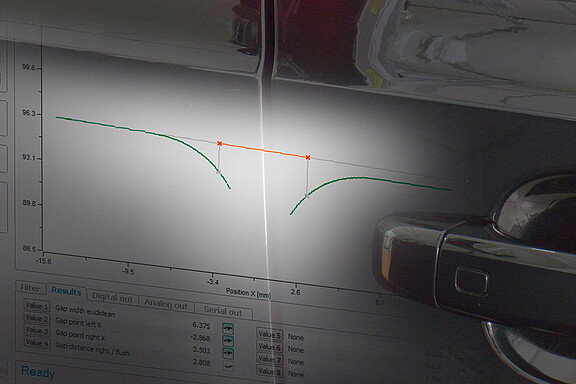
Gap measurement on car bodies
- Gap width
- Alignment of the car body panels
- Special algorithms are used to enable measurements on any car color
- Fully automated using in production lines of various car manufacturers
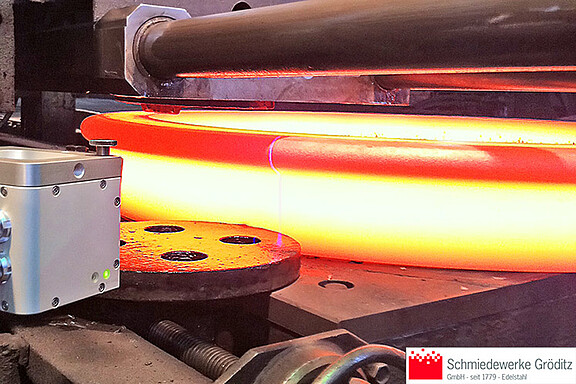
Measurement of forged steel wheel tyres
- Inline measurement right after the forging process at the company Schmiedewerk Gröditz GmbH
- Temperature 1200°C
- Different dimensions are checked
- Cooling housing by customer
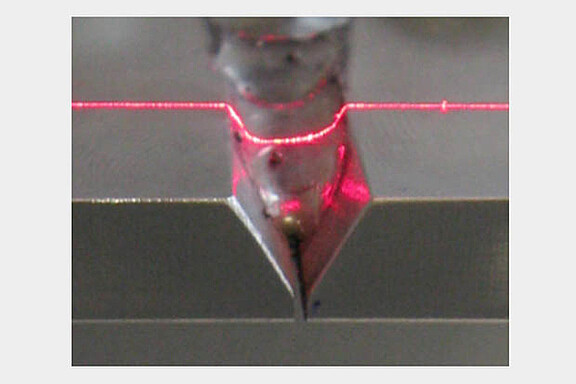
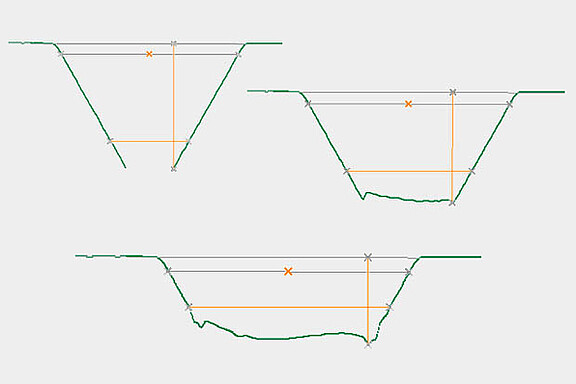
V-profile measurement
- Building up in several process steps
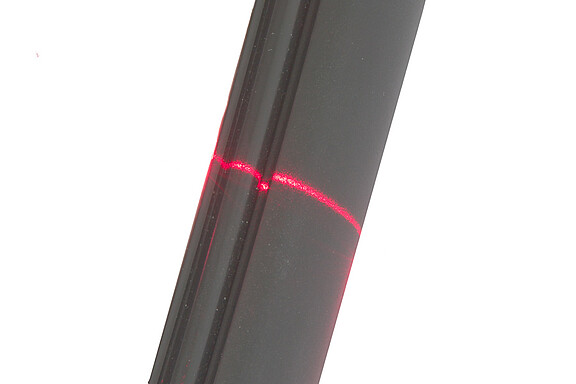
- Continous monitoring of gap width and depth
- Tracking of the welding head based on the position of the gap center
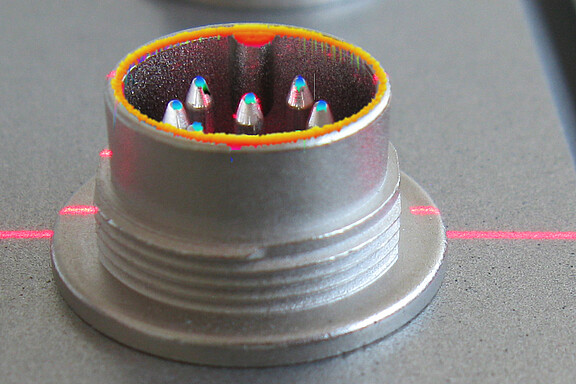
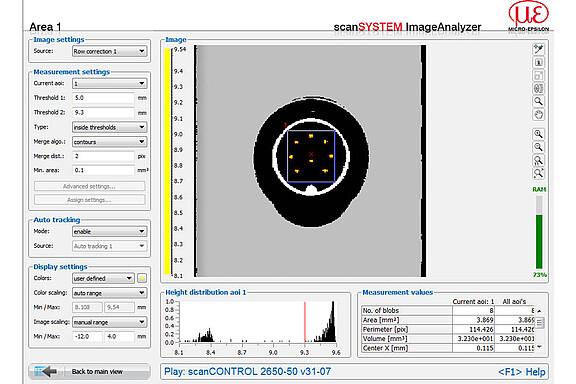
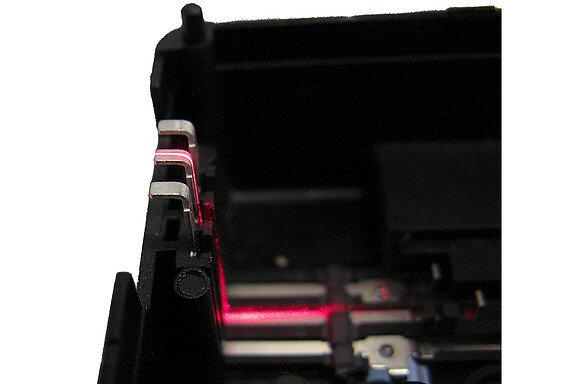
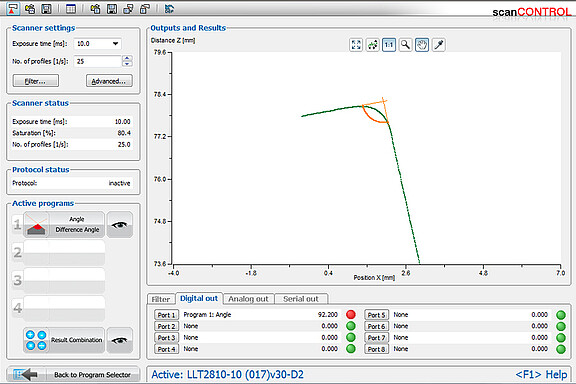
Angle measurement on pin contacts
- Short cycle times, fast measurements
- Several pin contacts are measured in every housing
- Measurement of any single contact
Wood
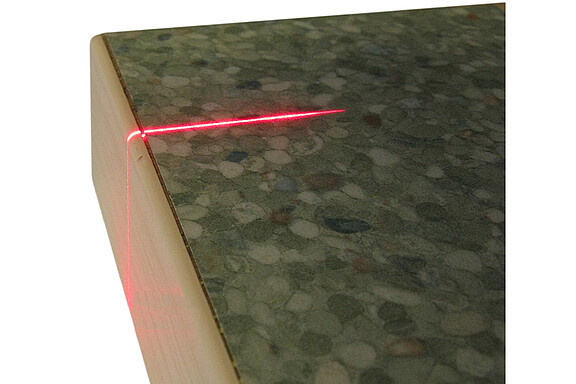
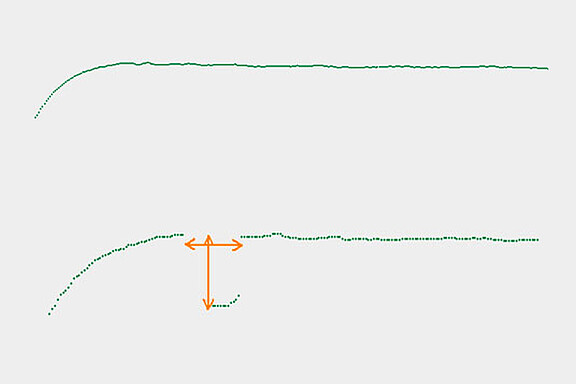
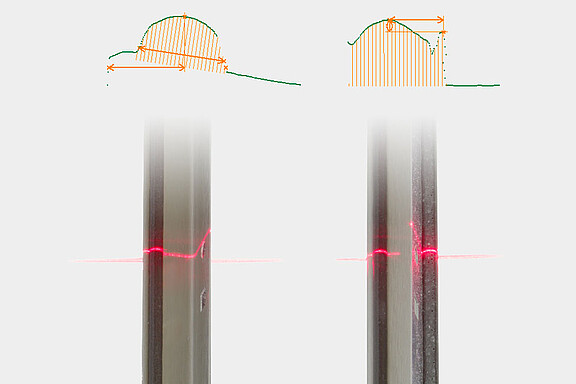
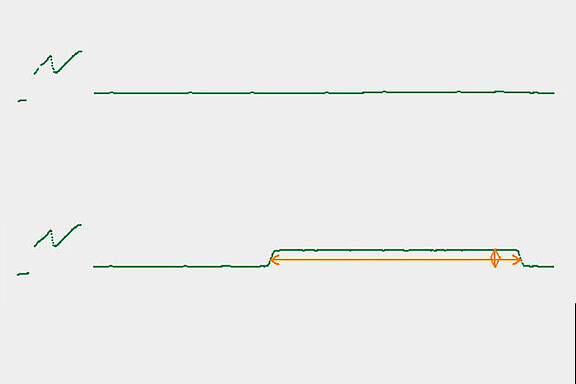
Defect detection on counter tops
- Glueing of the end strip is partially not flush
- Detection of grooves between the two parts shows defects
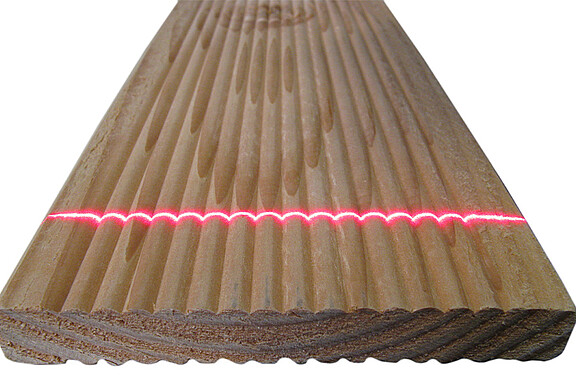
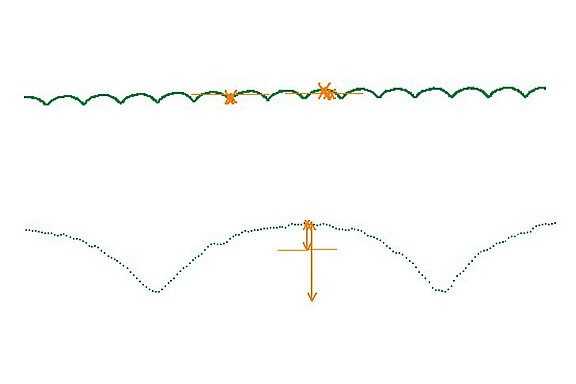
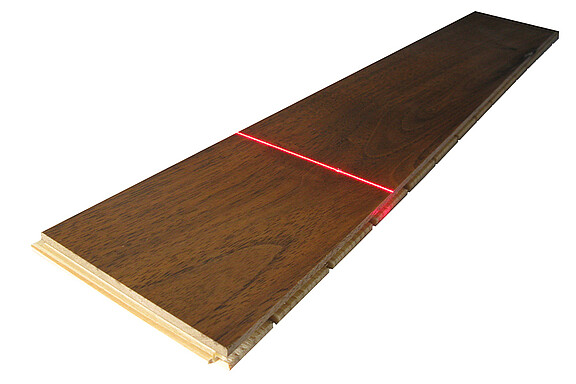
Control of the contour on timber floor board
- Difference in brightness due to the texture
- The height difference between the lowest and highest point is analysed
- Measuring on a width of 130 mm
- Speed: 10 m/s
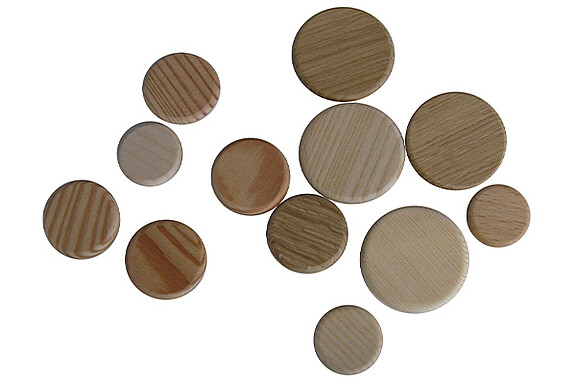
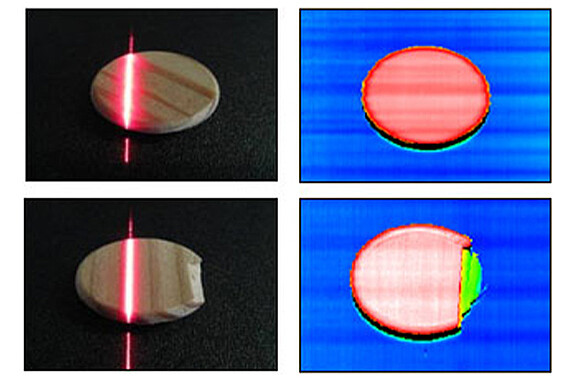
Control of wooden plugs
- Analysis of the reflection intensity
- Analysis of the elevation profile
- scanSYSTEM ImageAnalyser
- Checking: Roundness, resin embedding, breakouts, tilt, ….
- OK/NOK data is transferred to a PLC via RS422
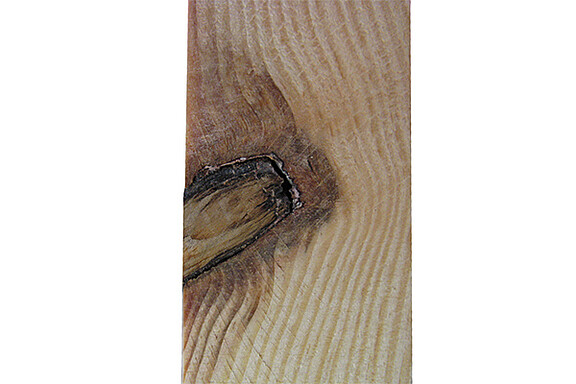
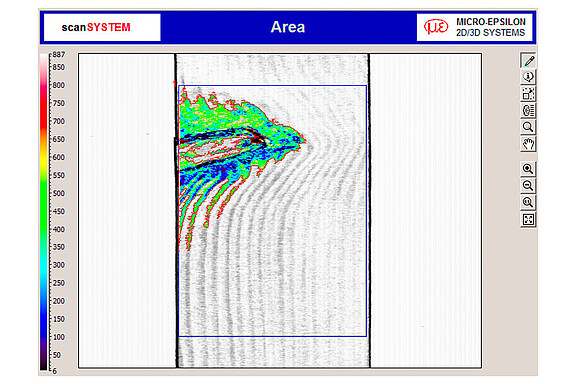
Control of wooden planks on knotholes
- Checking for defects on the surface
- Quantity, size and shape of the defects is displayed
- Calculation with the measurement values and transfer to the control system
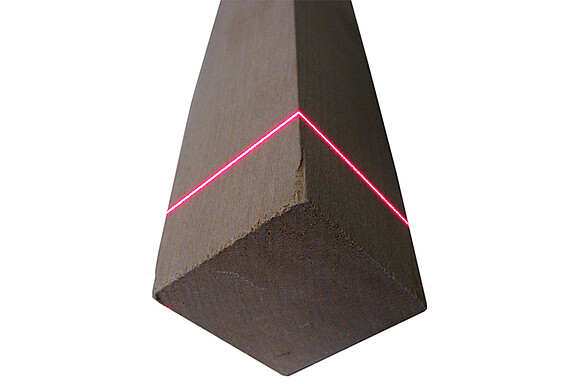
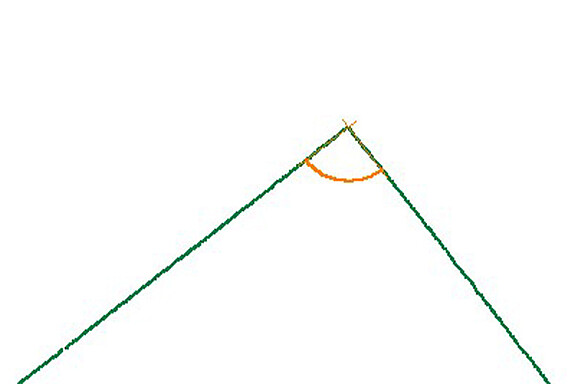
Rectangularity of wooden balks
- A continuous incoming goods inspection is realised at the plant of the customer
- The good and constant quality of the final product is assured
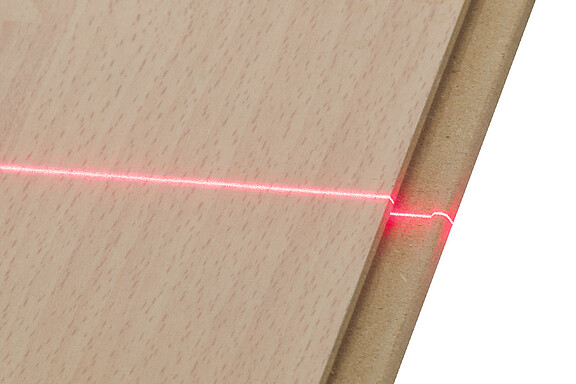
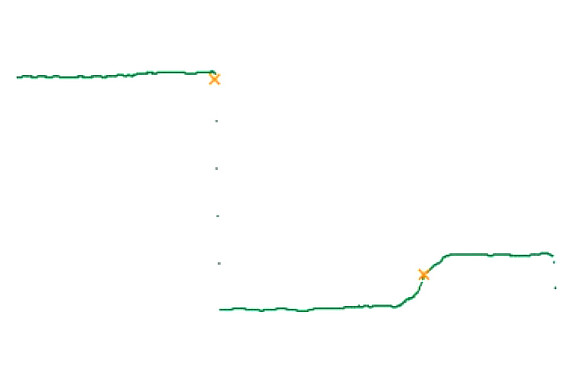
Control of springs on parquet planks
- Target material: wood
- Detection of the upper edge
- Detection of the notch and monitoring of the edges
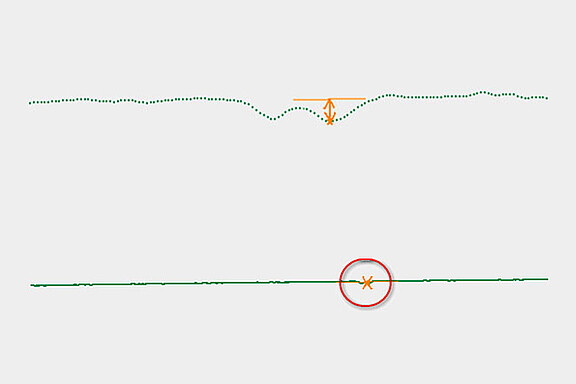
Defects on the surface of parquet planks
- Find the minimum and maximum point of the surface
- If a critical value is reached a defect will be detected
- This shows sinks or inclusions
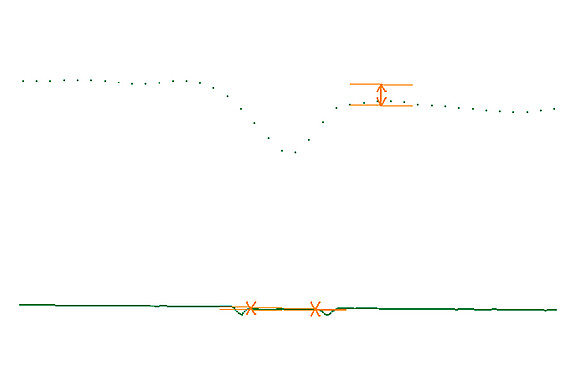
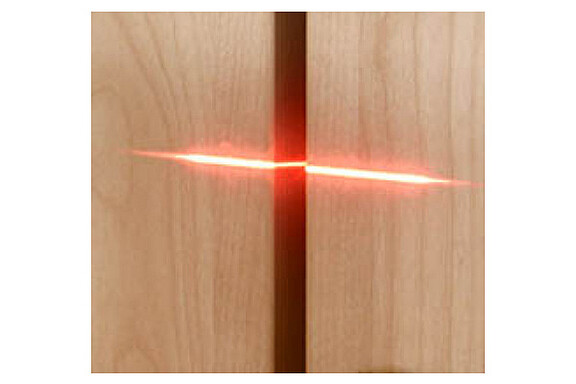
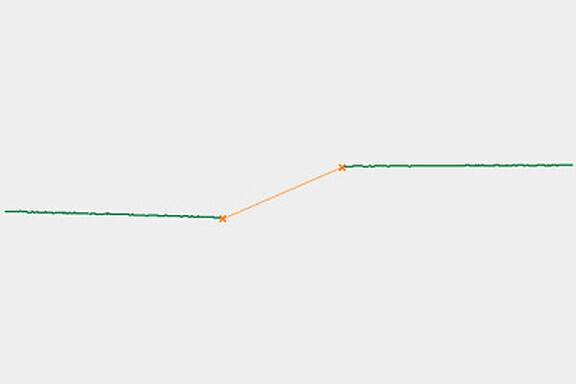
Gap measurement on wood
- Target material: wood
- Control of the gap width
- Control of the alignment
Plastics
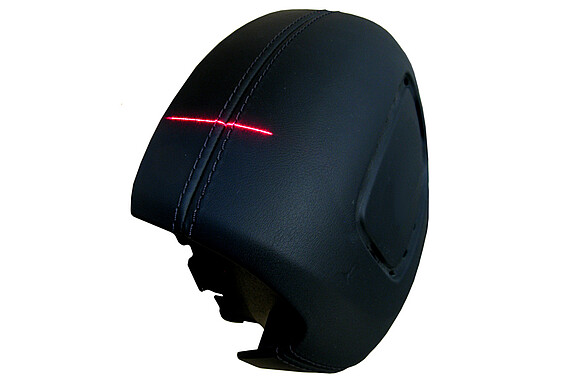
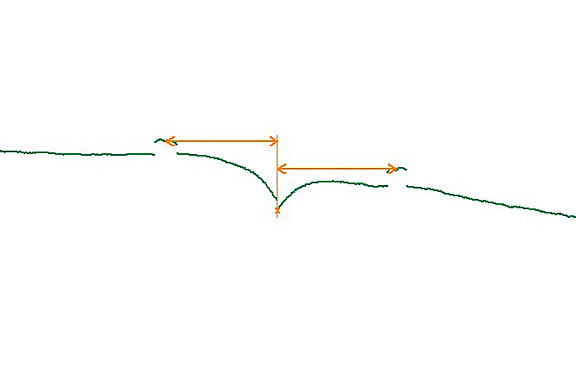
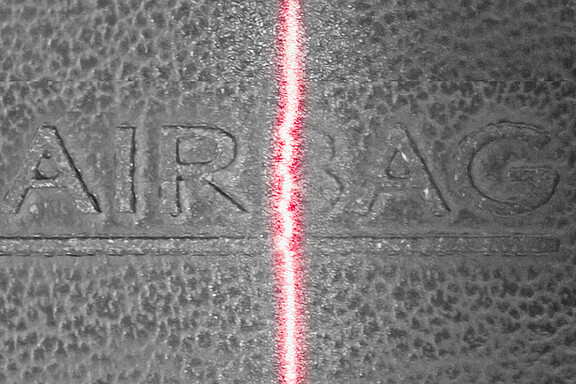
Position of decorative stitching on airbags
- Constant run and completeness are checked
- Defects would be seen by the car buyer directly
- Promotion for the brand image by means of visible quality
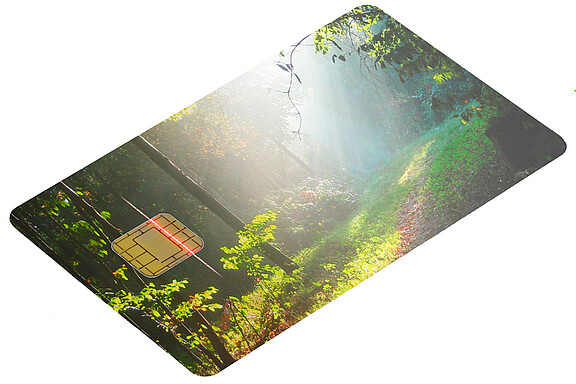
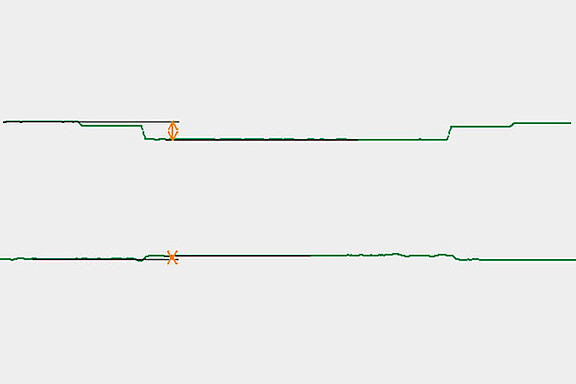
Measurement of the chip thickness in cards
- Control of the presence
- Measurement of the chip thickness relatively to the card‘s surface
- Partially shiny surfaces
- Varying printing colours
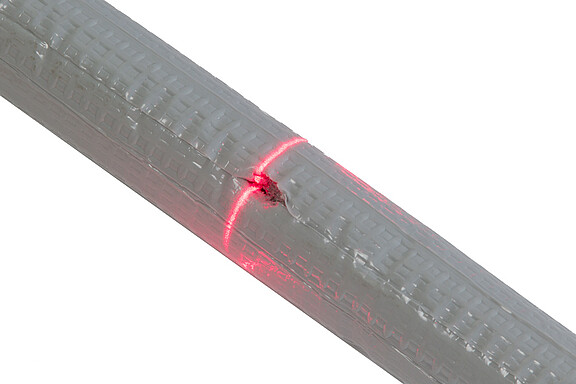
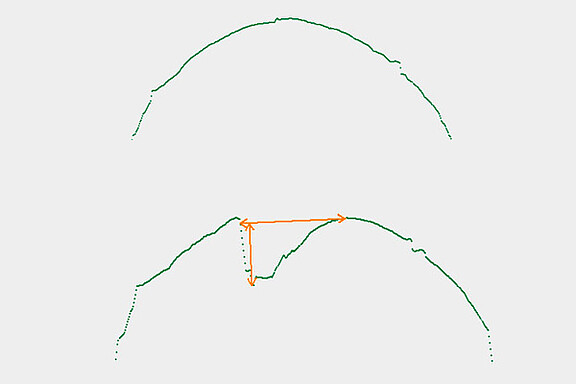
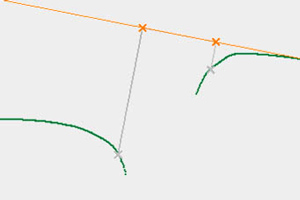
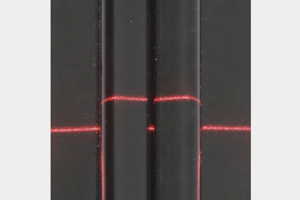
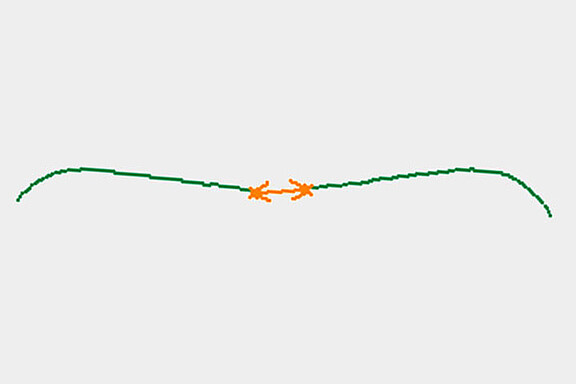
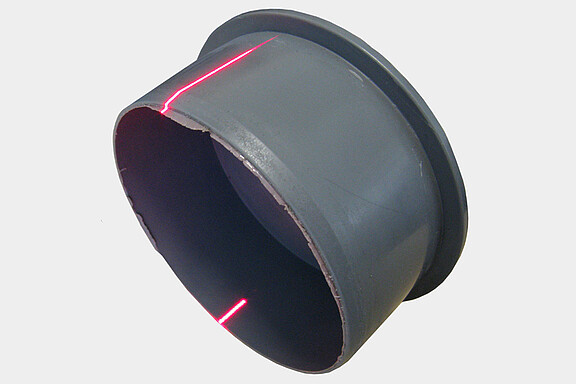
Detection of defects on pipe insulations
- Detection by searching for grooves
- Also small defects can be detected
- Different surface reflection on the outer and inner material
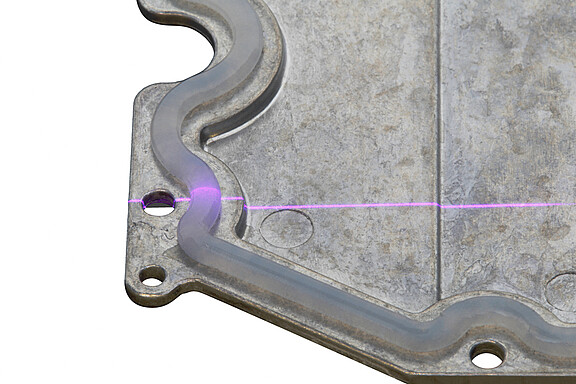
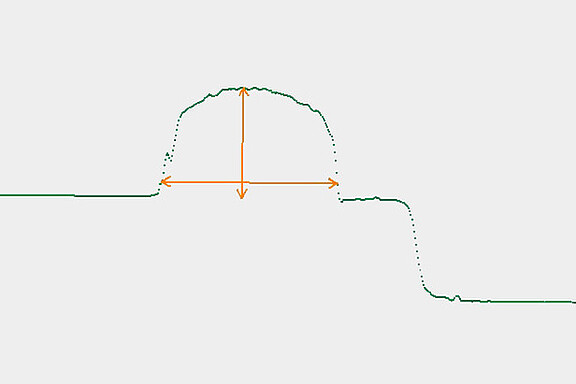
Adhesive beads on geometry
- Presence of the adhesive bead
- height and width of the adhesive bead
- Internal and external height of the object
Adhesive bead control on stove borderings
- Using two scanners
- Detection of presence
- Control of width and height
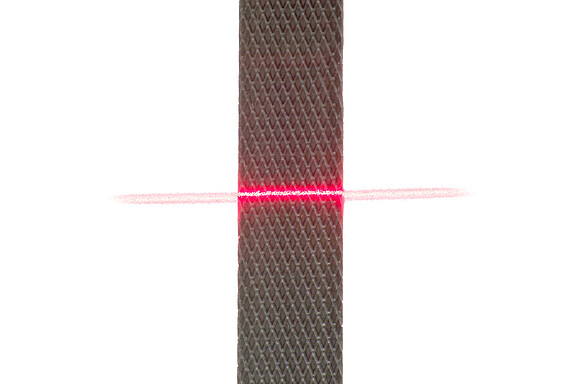
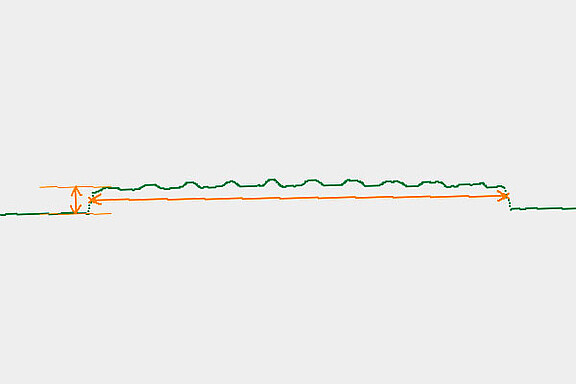
Dimension control on packaging tapes
- Measurement of width
- Measurement of thickness
- Highspeed measurement
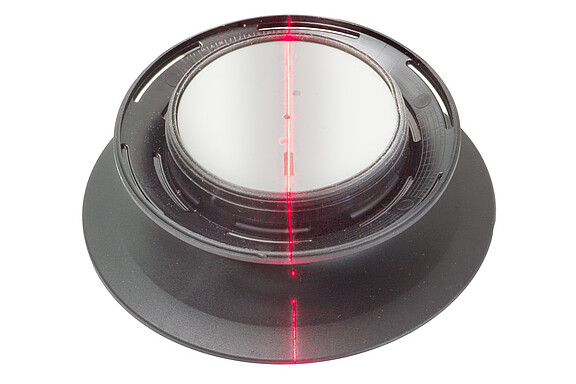
Position control on a lid‘s grip
- The lid‘s grip is turned around and when the seam is detected the rotation stopps
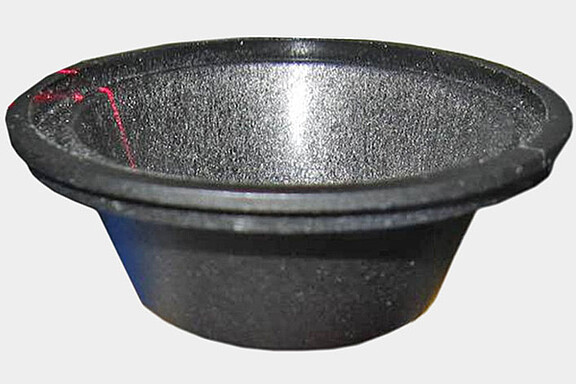
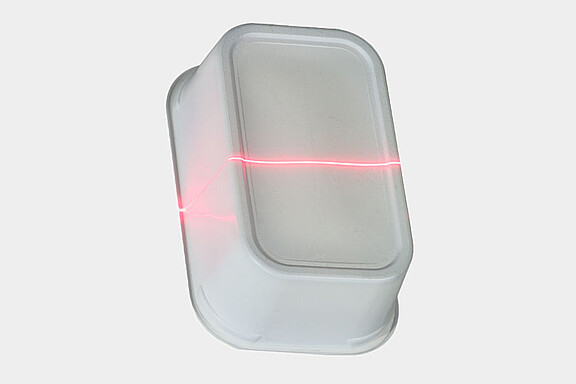
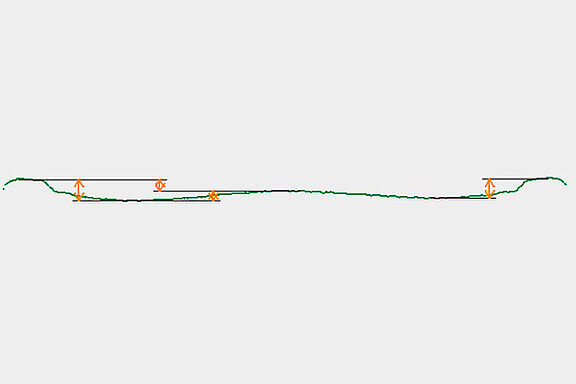
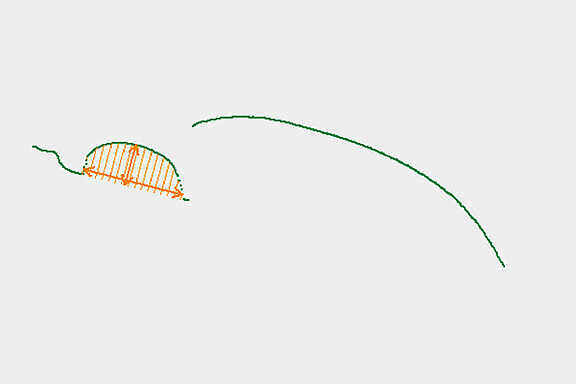
Process control in the production of plastic cups
- Control of several dimensions
- Detection of unacceptable bulges
- These bulges are based on problems during the extrusion
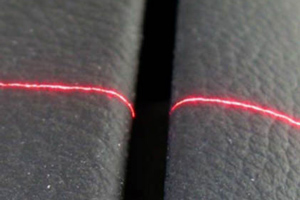
Gap measurement in vehicle interiors
- Measurement of the gap width on various materials like rubber, metal and plastic
- Alignment control between different parts of the interior
Gap measurement on plastic profiles
- Measurement on high speed
- Black shiny surface
Detection of flash on injection molding parts
- Mass production
- Flash is a visual defect
- Flash provides an indication on changes in the process parameters
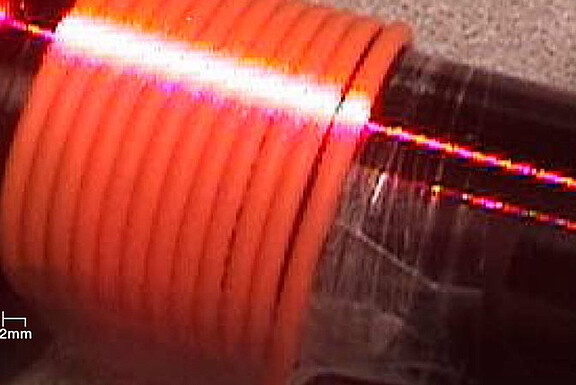
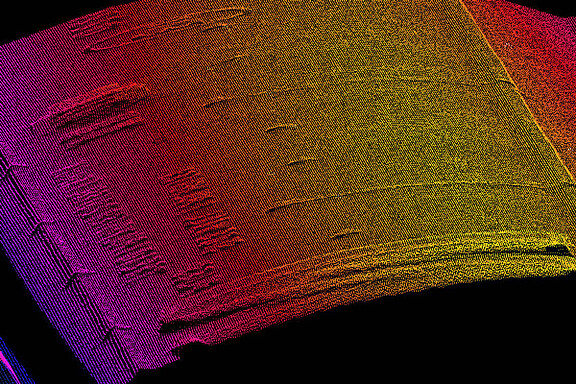
Automated machinery winding fiber cable
- Fiber cables are damaged when they are winded inaccurately
- Obvious reduction of the loss by using a winding machine that is checking the process contactless with a laser scanner
- Complete turnkey solution by a system integrator
- Winding speed up to 5 m/s
Rubber
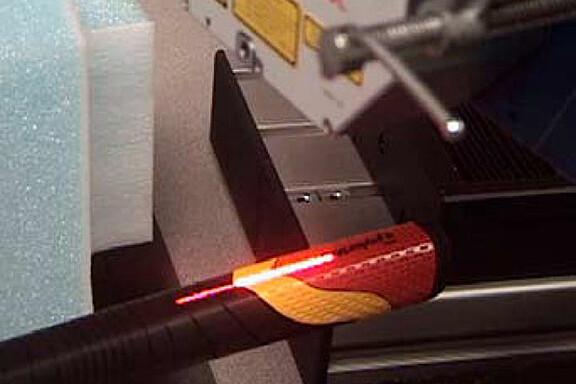
Position of the rubber grip on golf clubs
- High resolution and fast measurement
- Final customers make high demands on feel and look of the golf clubs
- Non-contact measurements treat the material with care
- Complete turnkey measurement system by a system integrator
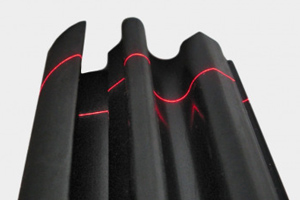
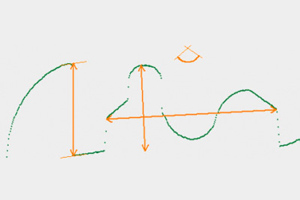
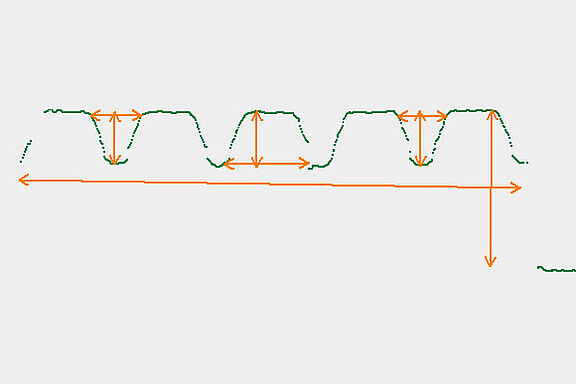
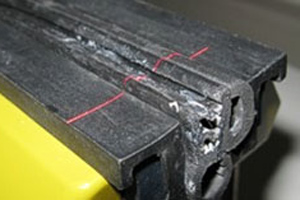
Rubber profile control
- height and width of the inner shape
- Angle between the two flans
- height of the outer shape
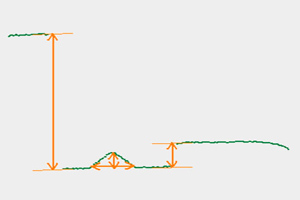
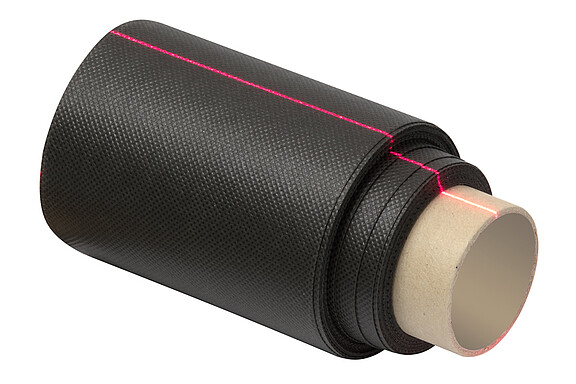
Position and thickness of layers on a roll
- Target material: black rubber
- Calculation of step heights
- Determination of edge positions
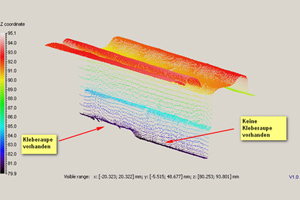
Sealing beads in vehicle interiors
- Detection of presence
- Detection of defects like changes in width or height
Tire control
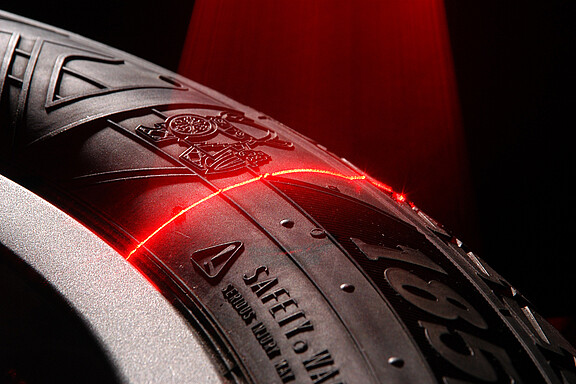
- Tire control system developed by ME-Inspection
- 50mW-laser for Highspeed-measurements on black rubber (high light absorbing surface)
- Profile and concentricity control
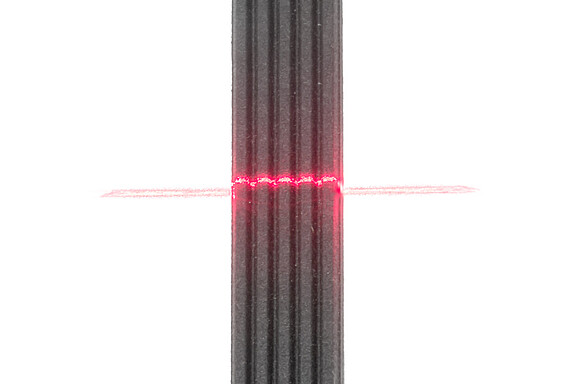
Measurement of rubber profiles
- Control of dimensional accuracy
- Mat black surface
- High profile frequency
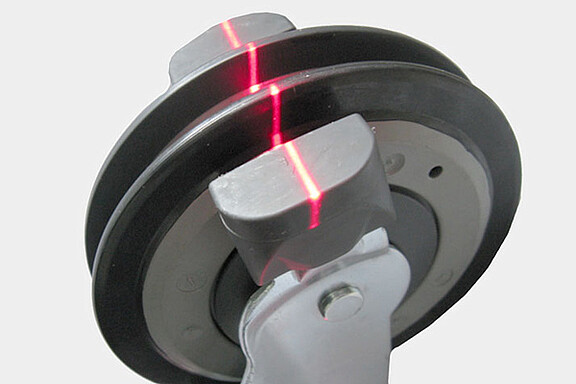
Roll measurement
- height of the roll compared to the position of the stoppers
- Width of the tires
- Width of the stoppers
- Measurement during tire rotation
More
Thickness measurement on foam material
- Point measurement is not possible because of the rough surface
- Averaging of the profile to detect the thickness
Quality assurance for railway sleepers
- Single profiles are matched to build a 3D model
- Control of all specific dimensions by customer owned software
- The target is to minimize the rejects in the production by means of realtime process adaptions
- Aggressive dust and dirt
- Great variations in temperature
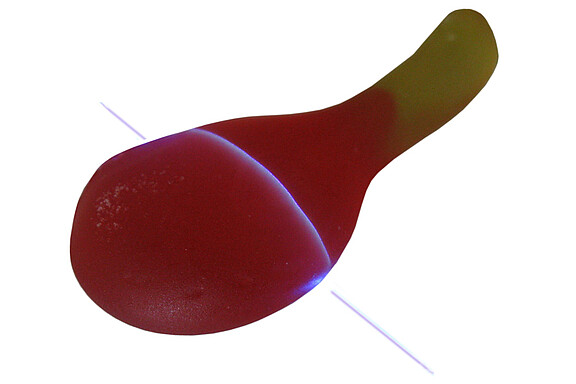
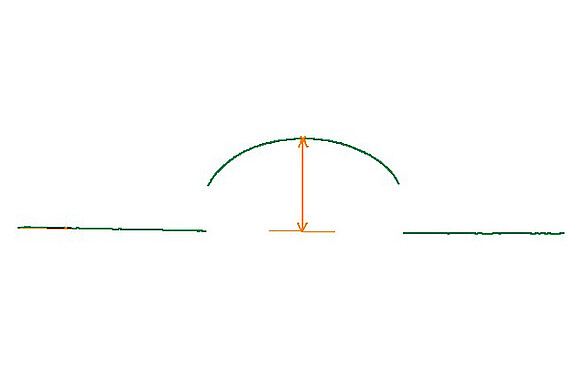
Height measurement on wine gums
- Quality control
- Control of different measures, especially height
- Tests in laboratory
- Sample check
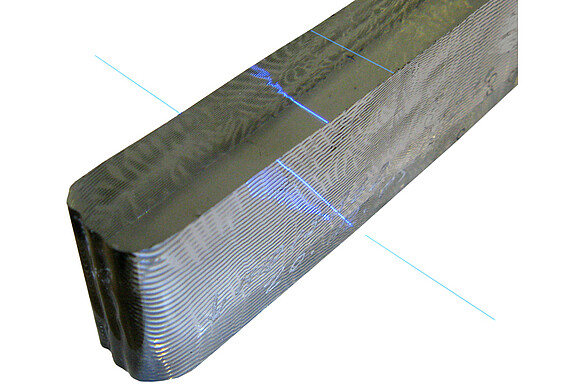
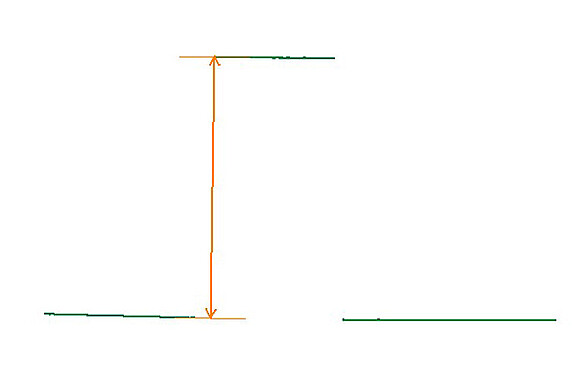
Thickness measurement on glass elements
- Depending on the sort of the glass it can be measured with blue or red scanner (depending on the surface)
- By means of the special scanCONTROL algorithms the correct reflection can be detected
Joining gap at glued optical glasses
- The blue laser light does not diffuse into the red glass
- Gap width from 0.3 to 1 mm
- The material change from metal to glass does not cause problems in this case
Surface control of adhesive foils
- Foil width up to 1 m
- Detection of pleats and deepenings
- The measurement works with one single traversing scanner, as every defect that appears is continued on the full length
Control of transparent glue beads
- The blue laser light does not diffuse into the material as much as the red light
- Scanning of the conture by means of a roboter arm
- Control of the completeness and detection of blurred parts
Adhesive bead measurement
- Measurement of the adhesive bead in a rubber groove
- Monitoring of the bead height
- Monitoring of the bead width
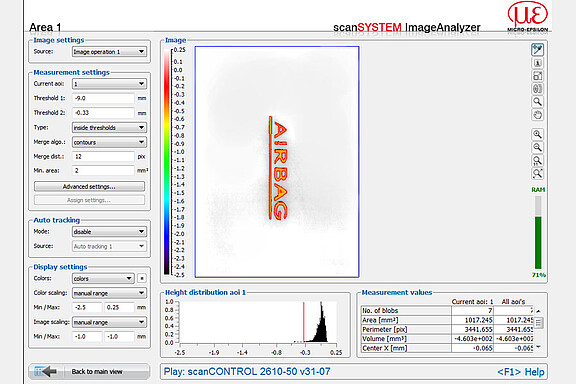
Control of stampings on leather
- Control of the correct depth of stamping
- Optical character recognition (OCR) by customers software to recognize e.g. serial numbers, part numbers, automatically.
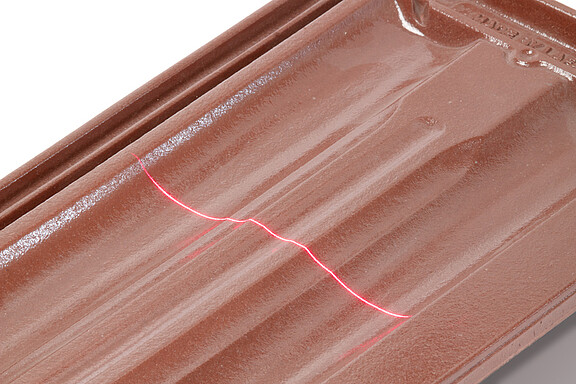
Profile measurement on shingles
- Control of dimensional accuracy
- Shiny surfaces
- Measurement on different positions by switching the scanning parameters directly on the scanCONTROL
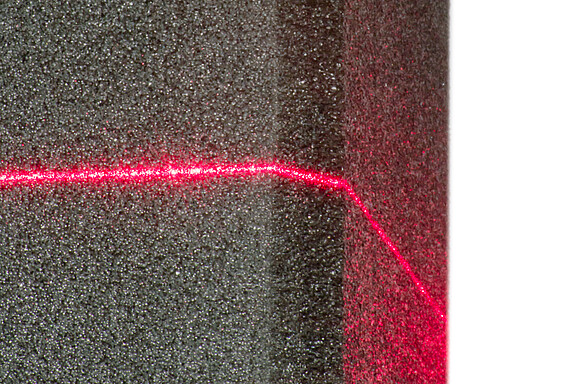
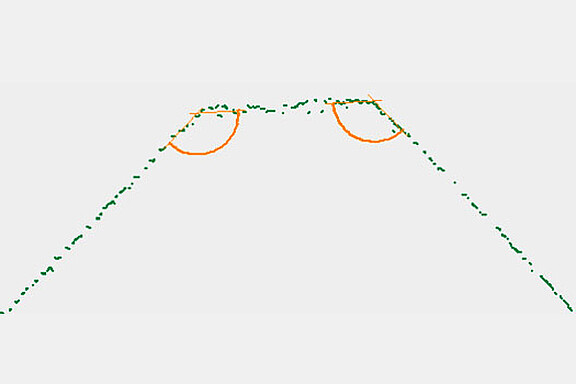
Measurement of edges on foam material
- Measurement of angles
- Uneven dark surface
- Averaging above several points to get a solid signal
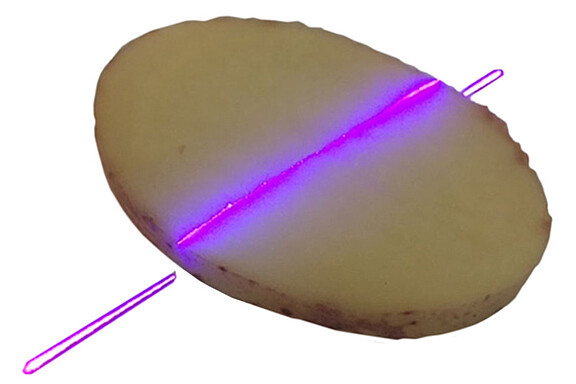
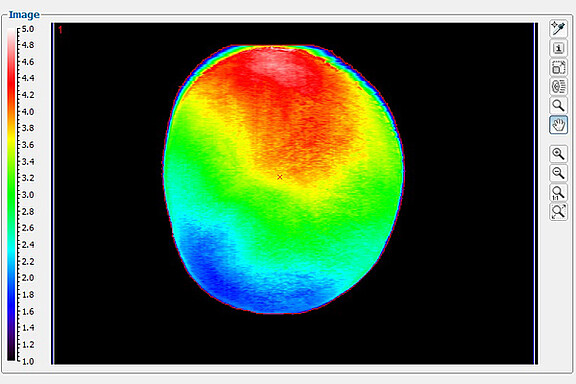
Volume control on a potato slice
- To small slices are separated out
- The limits for minimal and maximal thickness are observed
- For quality control because of continuous baking times
