Siirry suoraan päänavigointiin Suora pääsy sisältöön Siirry alanavigointi-tilaan

Leveys

The width of an object is often an important aspect for dimension control. The width can in some circumstances be interpreted as thickness and can therefore be resolved using thickness measurement. Different measuring principles come into consideration for the width measurement depending on the size of the object. For large objects such as strip material or packages, the measurement data from two sensors are usually calculated together. Optical methods such as Thru-Beam laser micrometers, laser sensors or eddy current and capacitive sensors are suitable for this. One sensor which measures the object width with one measurement is often sufficient for smaller objects such as individually packaged goods. scanCONTROL split beam sensors or vision4A image processing systems are suitable for this.
Diameter - radial/axial runout - measurement at disk motors

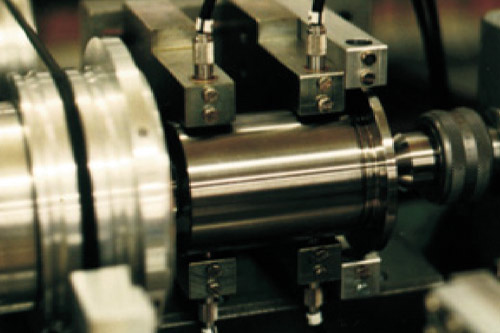
The production of disk motors has to meet the highest mechanical accuracy requirements. In order to ensure perfect functioning of the disk drives the drive units are measured and evaluated with respect to diameter, true running, and axial running. Since production specifications of < 5 μm have to be measured under nominal speed, a decision has been made to use the fast and high-resolution capaNCDT system. In this measurement two sensors with measurement range50 μm that are adapted to the flange geometry are of special importance.

measurement-disk-motors.jpg

Monitoring the commutator in electric motors

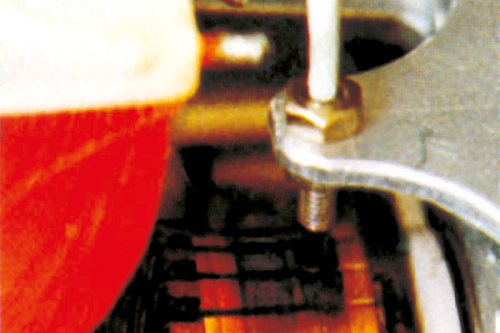
The “eddyNCDT” system offers many advantages for the non-contact monitoring of the mechanical condition of the commutator in electric D.C. motors or generators. The system uses the eddy-current measuring principle, is not subject to wear and cannot affect or influence the commutator.

monitoring-commutator-electric-motors.jpg

Tärinän siirtymämittaus ajotesteissä

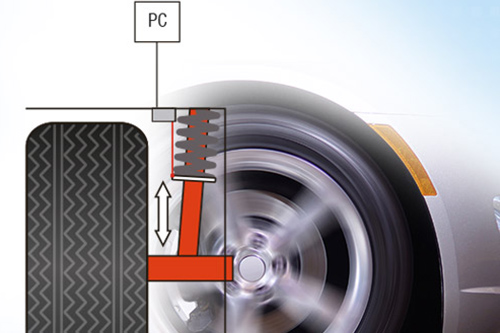
Ajoneuvoissa toimilaitteiden ajonaikaiset testit ovat ajoturvallisuuden perusta. Siihen tarvitaan antureita, jotka kestävät myös ajotestien korkeat vaatimukset. Esimerkiksi vaijerivetoanturit asennetaan rinnakkain iskunvaimentimien kanssa tärinän siirtymän mittausta varten ja tiedot tallennetaan tienpinnan vaihtelevan laadun mukaisesti. Saatu siirtymäsignaali on eriytetty, jotta siitä saadaan tärinän nopeus ja kiihtyvyys.

vibration-displacement-measurement.jpg

Co-planarity of IC-pins

The term „co-planarity“ discribes the proper seating of the tips of fine-pitch device leads on the copper pads on a PCB prior to solder process. The coplanarity is a critical dimension for the quality of the soldered joints, because no reliable and correct soldering can be done if there is a gap between the lead and the pad. In state of the art automatic assembly machines the co-planarity of components is measured during the assembling process. The component to be measured is passed over a triangulation displacement sensor which has a laser beam that scans the row of pins.

dummy-900x600.jpg

Deformation measurement on lightweight structures

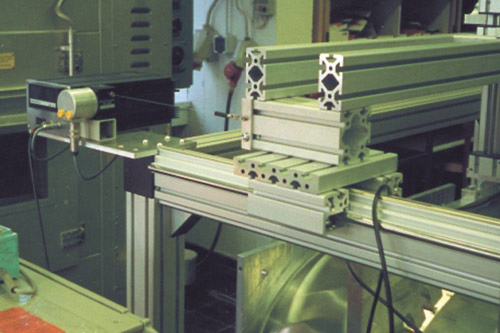
Specially designed measurement systems, which record the surface contours without reactive effects on the lightweight structures, are employed for the examination of component deformations under load. To achieve this, two laser-based optical displacement measurement systems can be mounted on a movable subframe subdivided with nineteen fixed reference points.

deformation-measurement-lightweight-structures.jpg

Measurement of the radial deviation on superconducting magnets

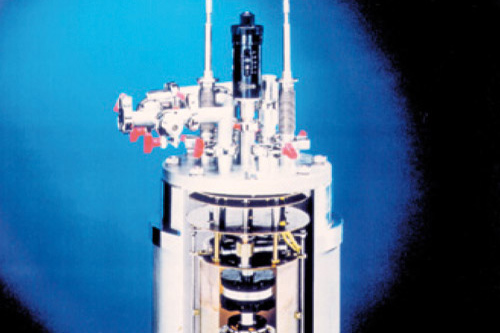
At the Institute for Solids and Materials Research (IWF) Dresden a motor with magnetic bearings has been developed using high temperature superconductors which can be employed for feed pumps for liquid nitrogen. The most important application of superconducting permanent magnets is the superconducting magnetic bearing. For the measurement of the radial deviation of these magnetic bearings, U1 eddy current sensors with special temperature compensation for -196 °C and 20 °C are used in the evacuated and cooled ambient.

measurement-radial-deviation-superconducting-magnets.jpg

Leikkuukiekon säteittäisen poikkeaman mittaus

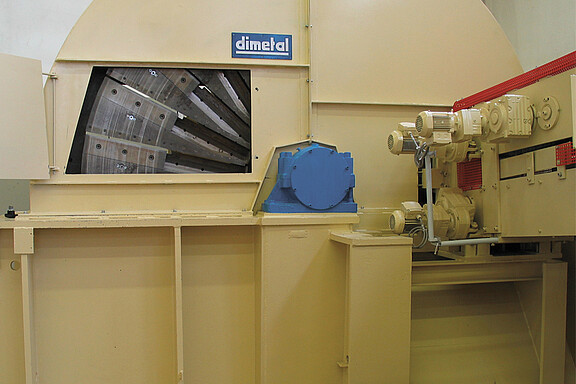
Laminoidusta puusta valmistettujen viilunauhojen valmistuksen aikana leikkuukiekon tarkkuus määrittää lopputuotteen laadun. Viilunauhojen mitoille asetetaan korkeat vaatimukset. Viilunauhojen paksuuden on oltava alle 1 mm ja niiden toleranssi voi olla korkeintaan mikrometrejä.

Laatukriteerien säilyttämiseksi leikkuukiekon säteittäinen poikkeama mitataan ja sitä seurataan tuotantoprosessin aikana optoNCDT 2300 -sarjan koskettamattomalla laserkolmiomittausanturilla. Tämä tarkoittaa, että mittausjärjestelmälle asetetaan suuria vaatimuksia: pöly, lastut ja kiiltävä kohdepinta eivät saa vaikuttaa mittatarkkuuteen.

measurement-radial-deviatio-cutter-disk.jpg

Vibration test of wet razor

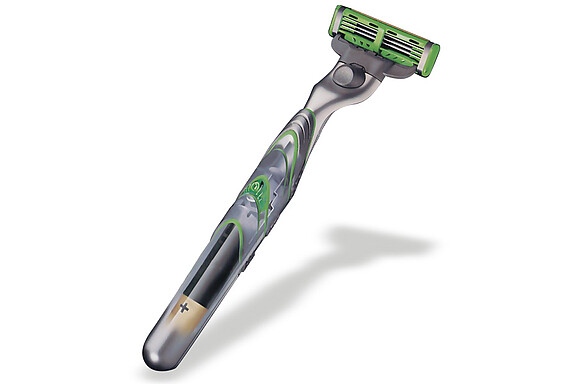
Modern wet razors provide the function of supporting the shave using vibration. A functional test is performed at the end of production for these models. The razor is switched on and placed in the light band of the optoCONTROL optical micrometer. The laser micrometer measures the vibration amplitude and the frequency.

vibration-test-wet-razor.jpg

Non-contact measurement of relay contact movement

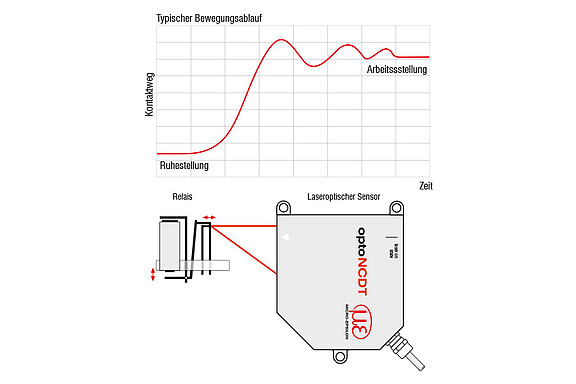
Even the layman can detect wether a relay is energized or not. The question how on the other hand, is difficult to answer even for the expert. What he needs to know is the timing of certain specific parameters such as pick-up delay, armature play, armature displacement, armature bounce, contact displacement, final contact position and contact

bounce. These parameters can be derived from the measured armature and contact movement. The relay characteristics must not be affected in any way by the measuring equipment in the event. The noncontact displacement measuring systems optoNCDT offer the ideal solution to this problem.

non-contact-measurement-relay-contact-movement-de.jpg

Automatic inspection and repair of marine propellers

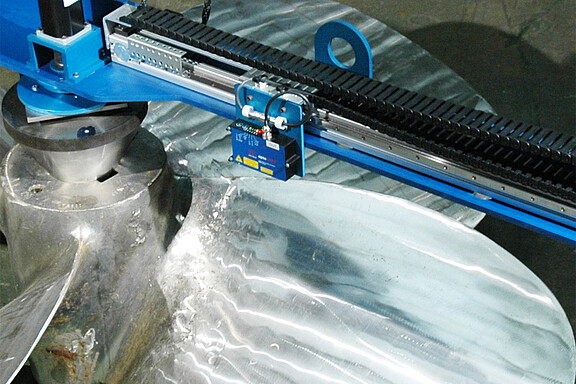
Deformed ship propellers are bent back to their original condition using special machines. Previously, this work was performed manually but today it has been replaced by automatic systems. The current shape of the propeller is measured and stored using an optoNCDT 1700 series laser sensor. The system then automatically recognises which positions need focusing on. In doing this, the laser sensor measures the shiny surface of the propeller, which it is able to do extremely well by using  fast, real-time surface compensation (RTSC) exposure regulation.

automatic-inspection-repair-marine-propellers.jpg

Impact

When an object experiences an impact it is subjected to a specific, directional linear movement. This directional movement is so minute that it can only be detected in the nanometer range. The objects composition and the needed precision of measurement decrease the range of sensors that can be used in this type of application.

dummy-900x600.jpg

Underwater measurement of axial movement and shaft play

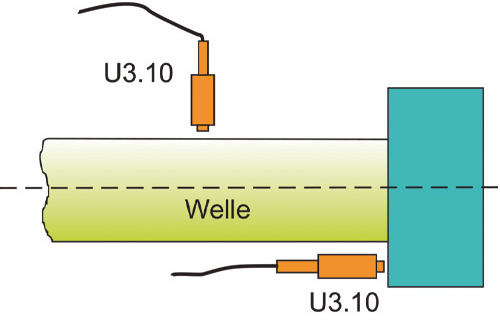
The functional safety of systems of special economic importance often depends on the perfect operation of delivery devices (pumps). Increased radial shaftwhirl, or an axial shift due to termal expansion, are first signs of possible malfunctions. Measuring axial movement and shaft play will reduce downtimes of the system and minimise repair costs. For underwater measurement a pressureproof eddy-current position sensor, which has been developed from the standard type U3 with certain adaptations is used. The sensor still has its high basic accuracy, and procuring spare parts is no problem at all. The use of potentiometers with readable setting ensures that the sensor can be easily and quickly adapted to different shaft materials (ferromagnetic or non-ferromagnetic).

underwater-measurement-axial-movement-shaft-play.jpg

Vibration

Vibrations play a large role in the manufacturing industry. There is always vibration where products are in motion. In many cases, this is perceived as an interfering factor and must not exceed specified limits for amplitude or frequency.

Non-contact sensors from Micro-Epsilon with high cut-off frequencies are often particularly suitable. Optical laser sensors or eddy current sensors for metallic objects are feasible.

vibration.jpg

Examination of the oscillation behaviour of toothed-belt camshaft drives

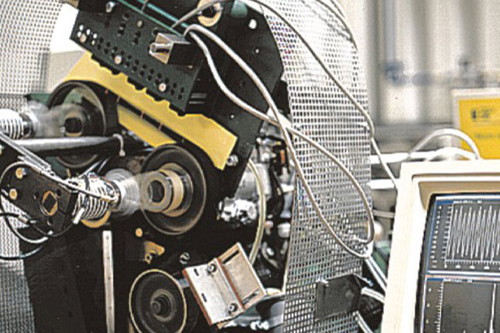
To examine the influence of various system and operating parameters on the dynamic behaviour of multi-disk drives a belt oscillation test bench has been set up which simulates the toothed-belt drive system of a direct injection motor vehicle diesel engine. The periodically fluctuating shaft torques generate rotary oscillations in the toothed-belt

drive, which lead to transverse belt oscillation. Five laser optical position measuring systems are arranged closely side by side, so that oscillations of higher order can also be measured safely.

examination-oscillation-behavior.jpg